How to Make Car Decals With Cricut to Sell
Transform your love for creativity and crafts into a business opportunity by learning how to make car decals with a Cricut machine.
Introduction to Make Car Decals With Cricut to Sell
Cricut is a versatile crafting tool that allows you to design and create an array of products, including the increasingly popular car decals. Car decals are a fun, creative way for people to personalize their vehicles and share a bit about their passions, beliefs, or business.
Step-By-Step Guide to Creating Car Decals With Cricut
Follow this simple, step-by-step guide to start creating your own car decals to sell.
Step 1: Gather Your Supplies
You’ll need the following items to Make Car Decals With Cricut to Sell:
- A Cricut machine (Cricut Explore or Cricut Maker)
- Cricut Design Space Software
- Permanent Adhesive Vinyl
- Transfer tape
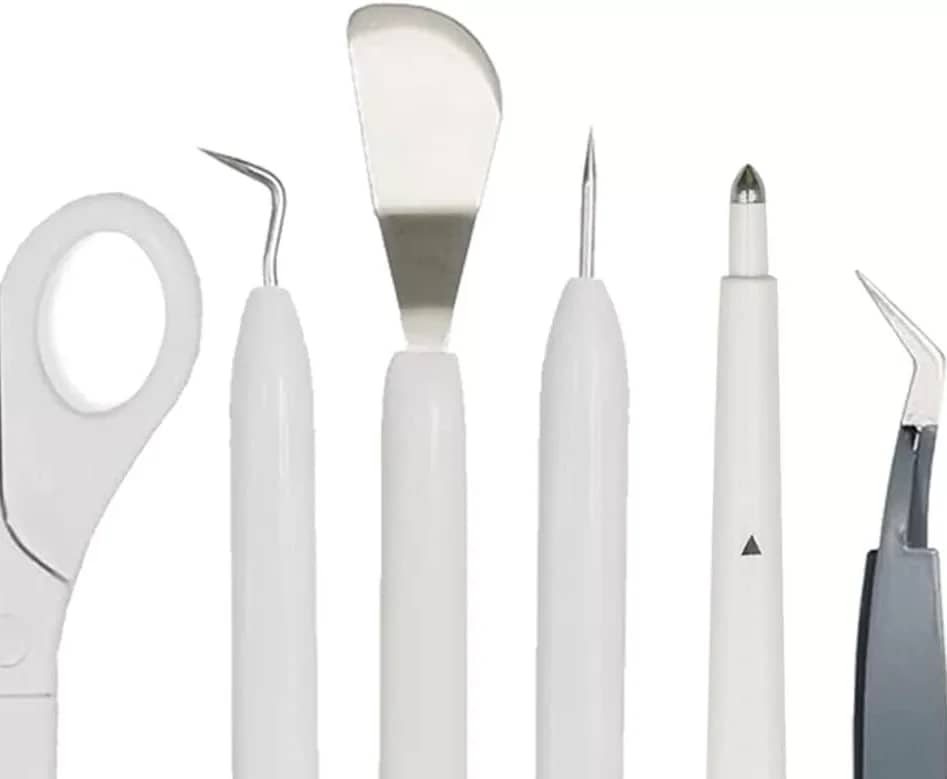
- Weeding tool
- A scraper tool
Step 2: Design Your Decal in Cricut Design Space
Cricut Design Space is user-friendly software that allows you to create or upload your design. You can either create your own design, use a pre-made design, or purchase a design. Ensure that the design appeals to a broad audience for a better chance of selling successfully.
Step 3: Prepare the Cricut Machine and Cut Your Design
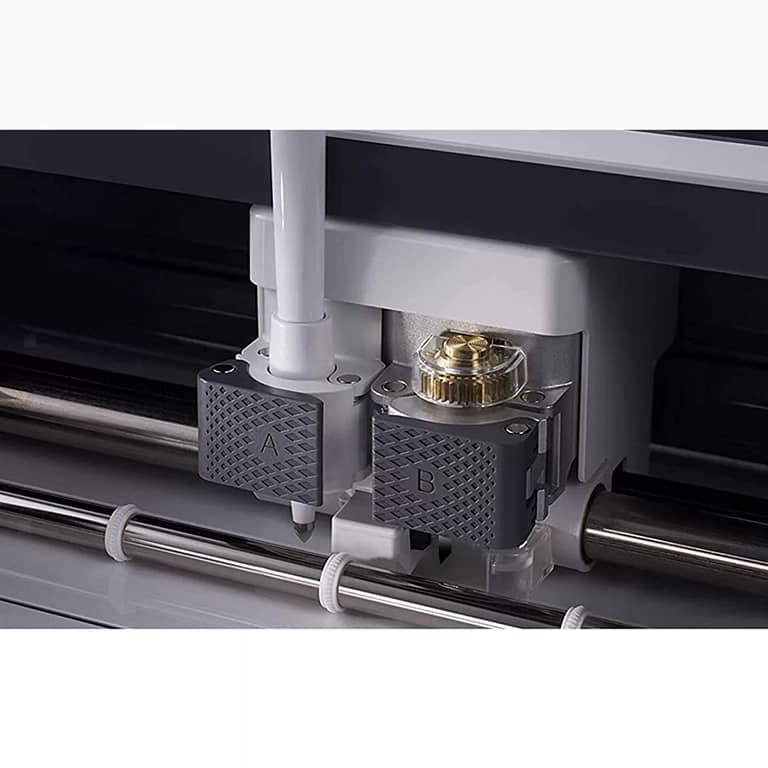
After finalizing your design, load the adhesive vinyl onto your cutting mat and into your Cricut machine. Ensure the vinyl side faces up and the grid side of the cutting mat is down. Set the material type to ‘Vinyl’ on your Cricut machine and click ‘Cut’ in the Design Space.
Step 4: Weed Your Design
Once your design is cut, use a weeding tool to remove the excess vinyl around your design. Be careful to keep the small pieces, like the insides of letters, intact.
Step 5: Apply the Transfer Tape
Next, cut a piece of transfer tape that’s the same size as your decal. Peel the backing off the tape and apply it carefully over your design. Use a scraper tool to ensure the tape adheres well to the decal.
Step 6: Transfer the Decal to the Car
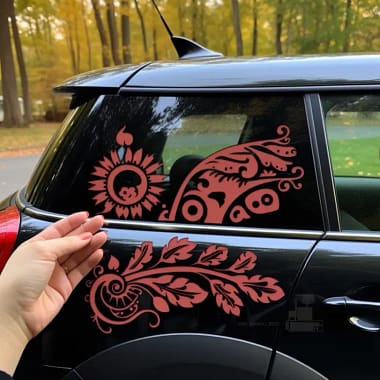
Peel off the vinyl backing, leaving the decal attached to the transfer tape. Apply the decal to the car’s surface and use the scraper to press it down firmly. Finally, slowly peel back the transfer tape to reveal your finished decal.
Tips for Successfully Selling Your Car Decals With Your Cricut
Creating the decals is just the first step. Here are some essential tips to help you sell your products.
Offer a Variety of Designs
People have diverse tastes and preferences. Offering a variety of designs will attract a wider range of customers and increase your potential sales.
Use Quality Materials
The longevity and appearance of your decals depend on the quality of the materials used. Invest in high-quality, weather-resistant vinyl to ensure your decals withstand different weather conditions.
Create an Appealing Online Presence
An eye-catching online store, engaging product descriptions, and high-quality photos can significantly impact your success. Use social media, online marketplaces, or a website to showcase and sell your products.
Provide Excellent Customer Service
Customer service is vital in any business. Fast response times, a friendly attitude, and helpful information will impress your customers and encourage repeat business.
Consider Custom Orders
Offering custom-made decals can attract customers looking for a personal touch. You can charge a premium for this personalized service.
Make Car Decals With Cricut to Sell – Conclusion
Making and selling car decals with a Cricut machine is not just a fun hobby; it can be a profitable business venture. With the right tools, quality materials, and creative, appealing designs, you’ll be on the road to success.
Now you know How to Make Car Decals With Cricut to Sell. So let’s get crafting! What is stopping you?


