How to Make Stickers with Cricut?
Discover the world of DIY creativity with this comprehensive guide on making stickers using a Cricut machine. This fun, straightforward process allows you to create personalized and professional-quality stickers right from your home.
What is a Cricut Machine?
The Cricut machine is a cutting tool that offers endless opportunities to hobbyists, craft enthusiasts, and small business owners. The device can cut a variety of materials, including paper, vinyl, cardstock, and more. Among its many uses, one of the most popular is creating custom stickers. Whether you’re a craft lover looking for a new project or an entrepreneur wanting to delve into the world of sticker making, this guide will walk you through each step of the process.
Supplies Needed for Sticker Making
Before you can start creating stickers, you’ll need the following supplies:
- A Cricut machine (Cricut Maker, Cricut Explore, or Cricut Joy)
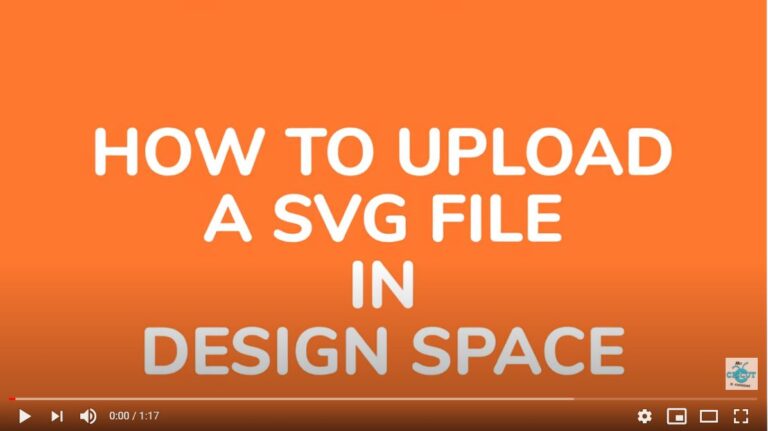
- Cricut Design Space software
- Printable sticker paper or vinyl
- A printer
- StandardGrip mat
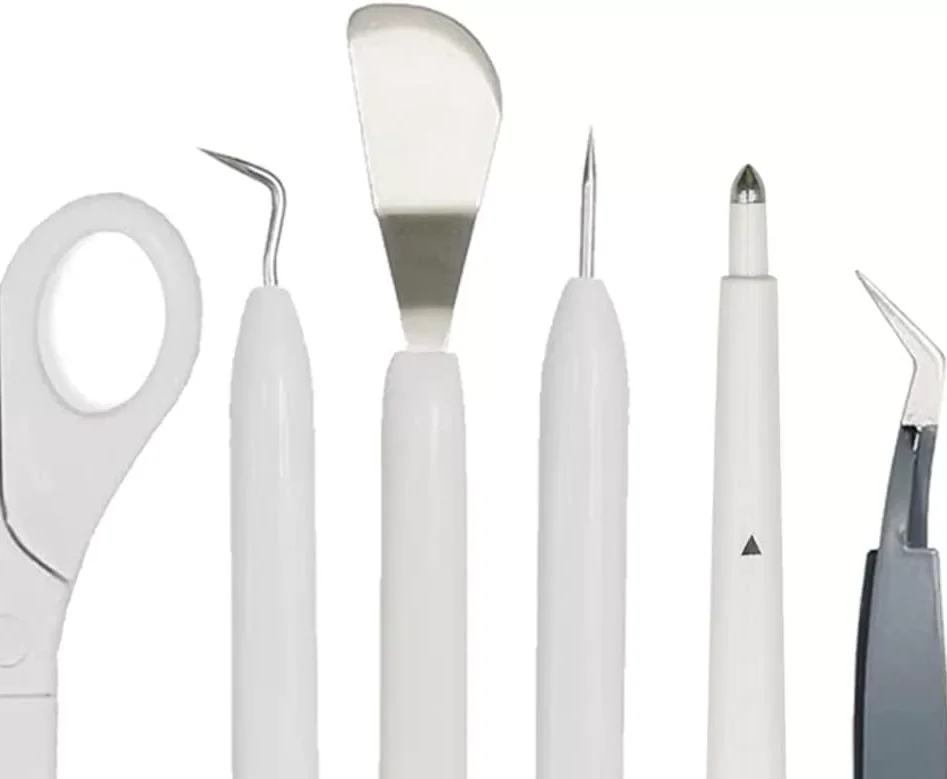
- Cricut’s fine point blade
These items will ensure that you have all the necessary equipment to create professional-looking stickers with your Cricut machine.
Step-by-Step Guide to Making Stickers with Cricut
Step 1: Designing Your Stickers in Cricut Design Space
The first step is to create your design in the Cricut Design Space software. You can use the program’s design elements, import a pre-existing design, or create your own.
When your design is ready, click on ‘Make it.’ You’ll be redirected to a preview screen. Since you’re creating stickers, ensure to turn on the ‘Print then Cut’ feature.
Step 2: Printing Your Stickers
Once you’ve finalized your design, it’s time to print your stickers. Load your printable sticker paper or vinyl into your printer. Go back in Cricut Design Space, click ‘Send to Printer.’ Make sure ‘Add Bleed’ is enabled to prevent white borders on your stickers unless you prefer them.
After setting your preferences, click ‘Print.’ Your printer will now print your sticker designs.
Step 3: Cutting Your Stickers with the Cricut Machine
After printing your stickers, it’s time to cut them. Place the printed sticker paper onto the StandardGrip mat. Load this mat into your Cricut machine.
In Cricut Design Space, set your material type to ‘Sticker Paper’ or ‘Printable Vinyl,’ depending on what you’re using. Once this is done, click ‘Cut,’ and your Cricut machine will start cutting your designs.
Step 4: Unloading and Finishing Up
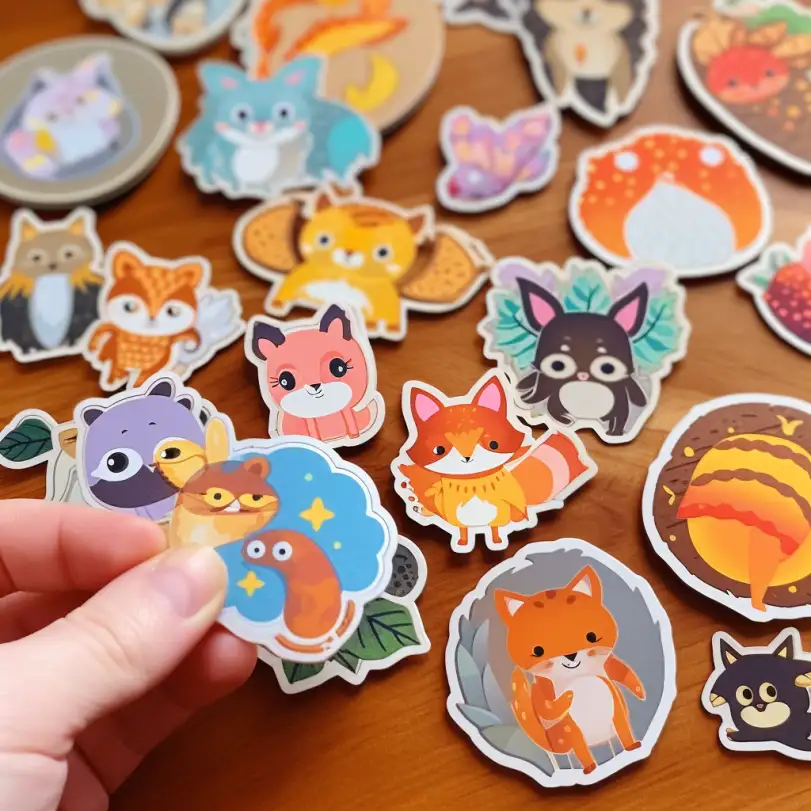
Once the Cricut machine has finished cutting, press ‘Unload’ to remove the mat. Carefully peel off the excess sticker paper around your stickers, and voila! You have your stickers, ready for use or sale.
Ideas for Sticker Use and Sale
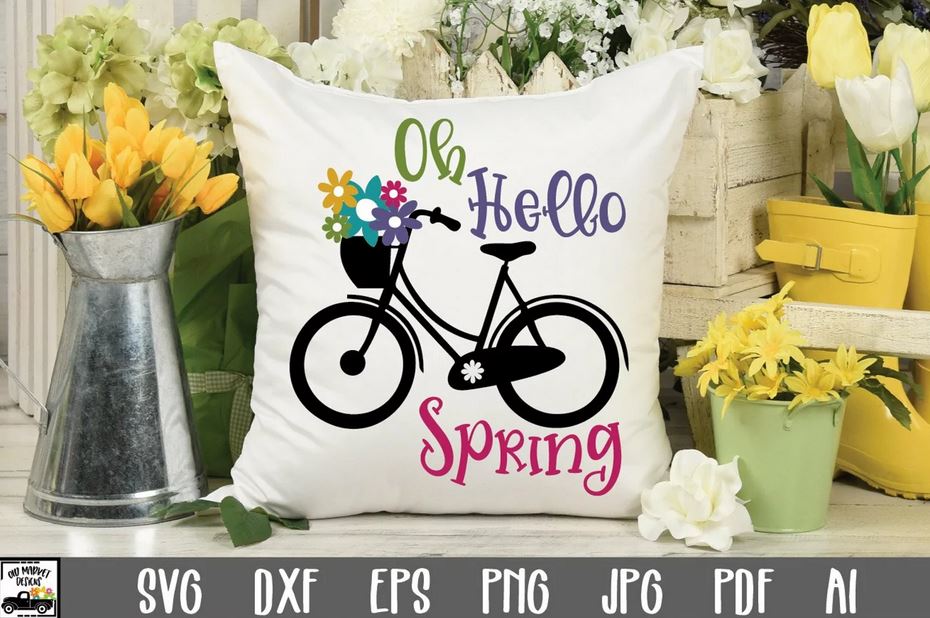
Stickers are versatile, with a wide range of applications. They can be used for personalizing laptops, notebooks, phone cases, and more. As a business venture, you can sell sticker packs, incorporate them into stationery sets, or offer custom-made sticker designs.
Conclusion
Creating stickers with a Cricut machine is a fun, easy, and profitable hobby. With the ability to create unique, high-quality stickers, the possibilities are only limited by your imagination. Happy crafting!