(Step-by-Step Guide for Beginners 2025)
There’s something so satisfying about peeling off freshly made stickers with Cricut that you designed yourself. Whether you want to decorate your planner, personalize packaging for your small business, or simply make cute crafts, Cricut stickers are the perfect project.
If you’ve ever wondered how to make stickers with your Cricut, this step-by-step sticker making tutorial will show you exactly what to do — from designing and printing to cutting and sealing your stickers for a professional finish.
Even if you’ve never made stickers before, don’t worry. This beginner-friendly Cricut sticker guide walks through every step in detail so you can confidently create custom sticker sheets at home.
By the end of this tutorial, you’ll know:
- Which Cricut machines work best for stickers
- How to choose the right paper and printer
- How to design and size stickers in Cricut Design Space
- How to use Print Then Cut like a pro
- How to prevent cutting or alignment issues
So grab your favorite designs, warm up your printer, and let’s start making stickers!
2. What You Need to Make Stickers
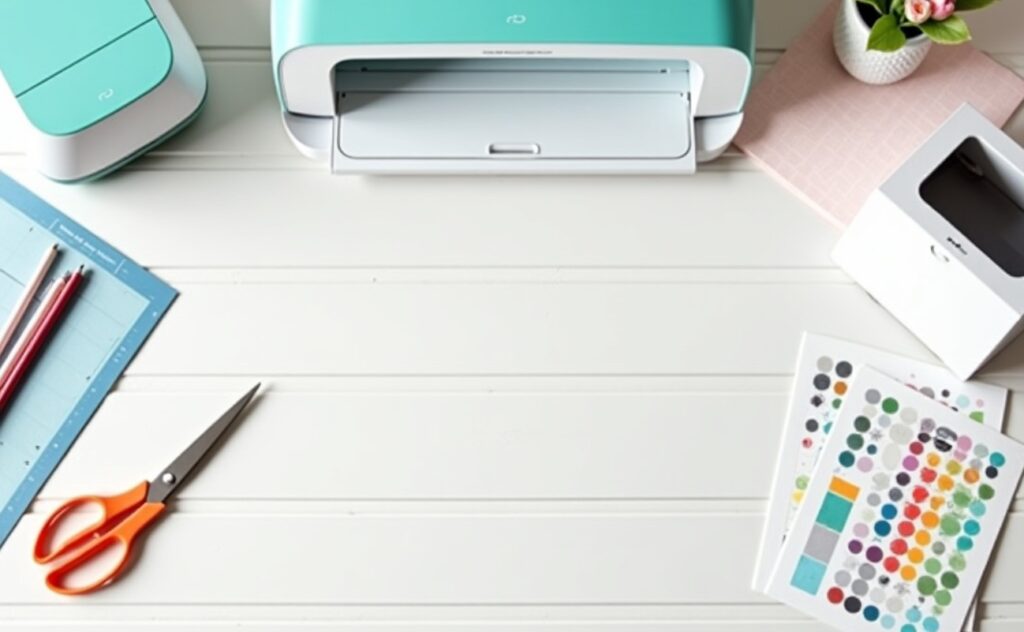
Before you begin, it’s important to gather all the tools and materials you’ll need. Having the right setup ensures your stickers look polished, vibrant, and cut perfectly.
Essential Cricut Sticker Supplies
Here’s your basic supply list for making Cricut stickers at home:
- Cricut Machine – Cricut Maker, Maker 3, Explore Air 2/3, or Joy
- Sticker Paper or Printable Vinyl – Inkjet-compatible for best results
- Inkjet Printer – A color printer with good quality ink
- LightGrip Cutting Mat – Holds your paper securely while cutting
- Brayer Tool – Helps flatten paper on the mat for smoother cuts
- Scissors or Paper Trimmer – For trimming excess paper edges
- Optional: Laminating Sheets – For waterproof or glossy finishes
Recommended Cricut Machines for Stickers
All Cricut machines can cut stickers, but some handle Print Then Cut better than others:
- Cricut Maker / Maker 3: The most versatile with precise cutting and adjustable pressure settings. Perfect for die-cut and kiss-cut stickers.
- Cricut Explore Air 2 / Explore 3: Works beautifully for Print Then Cut projects on sticker paper or printable vinyl.
- Cricut Joy: Ideal for smaller sticker sheets or Smart Label projects (though it lacks Print Then Cut, you can still cut pre-printed designs).
Best Sticker Paper and Vinyl for Print Then Cut
Your paper choice makes a huge difference in print quality and durability.
- Matte Sticker Paper: Great for planners, journaling, and labeling. Smooth to write on.
- Glossy Sticker Paper: Gives your designs a shiny, professional look.
- Printable Vinyl: Water-resistant and flexible — ideal for durable or outdoor stickers.
Look for inkjet-compatible sticker paper to ensure crisp prints that don’t smear.
3. How to Design Stickers in Cricut Design Space

Once your materials are ready, it’s time to move into Cricut Design Space. This is where you’ll create, arrange, and prepare your stickers for printing and cutting.
If you’re new to the software, don’t worry — the process is beginner-friendly once you understand a few basics.
Using Pre-Made Images and Shapes
One of the easiest ways to start is by using pre-made images already available in Cricut Design Space. Simply search for “stickers,” “icons,” or “labels,” and you’ll find plenty of options.
You can also upload your own PNG or SVG designs — perfect if you’ve created artwork in another program like Canva, Procreate, or Photoshop.
Creating Original Designs from Scratch
Want completely custom stickers? Use the Shapes and Text tools in Design Space to build designs from scratch.
For example:
- Add circles, hearts, or stars as bases
- Type motivational phrases or planner headers
- Change colors, layer shapes, and add clip art
This approach is perfect for personalized planner stickers, small business thank-you labels, or decorative icons.
Adding the Offset Effect for Sticker Borders
Sticker borders not only look professional — they also make your cuts easier to handle.
How to Use the Offset Tool to Create White Borders
- Select your design in Design Space.
- Click “Offset” in the top menu.
- Adjust the slider to set border thickness (around 0.05–0.1 inches works well).
- Choose “Apply.”
- Change the offset color to white if you want a clean border.
- Select both layers and click “Flatten” to merge them for printing.
The Flatten step is crucial — it tells Cricut to treat your layered design as one printable image.
4. Setting Up Print Then Cut Stickers
Now that your designs are ready, it’s time to prepare them for Cricut’s Print Then Cut feature.
This feature lets you print your stickers on regular paper or vinyl, then cut them out precisely using your Cricut machine.
Adjusting Size and Layout (6.75” x 9.25” Limit)
Cricut’s Print Then Cut has a size limit of 6.75 by 9.25 inches. That means your printable sticker sheet must fit inside that area.
Tip: Add a rectangle in Design Space sized exactly to 6.75” x 9.25”. Place all your sticker designs inside this box to ensure they fit within Cricut’s cutting boundary.
Flattening and Attaching Your Design Properly
Once your stickers are arranged:
- Select all your sticker designs.
- Click Flatten to merge them into one printable layer.
- Make sure the black registration box appears when you select “Make It.”
Without flattening, Cricut will try to cut each design layer separately — not what you want for stickers!
Common Alignment Mistakes to Avoid
- Forgetting to flatten before printing.
- Designing outside the allowed print area.
- Using glossy sticker paper without increasing light in your cutting space (the sensor can struggle to read the registration marks).
If your cuts are misaligned, you can always recalibrate your Cricut from the settings menu.
5. Printing Your Stickers
You’ve designed and set up your sheet — now it’s time to print!
Make sure your printer is calibrated, has fresh ink, and is loaded with the correct sticker paper (printable side up).
Printing Tips:
- Use “Best” or “High Quality” mode in your printer settings.
- Choose the correct paper type (matte or glossy).
- Let ink dry completely before handling.
- Avoid touching printed areas to prevent smudging.
If your colors look dull, try increasing your printer’s color saturation or cleaning your print heads.
Printing at home allows you to experiment — you can print multiple test sheets until you find the perfect settings for your printer and paper combination.
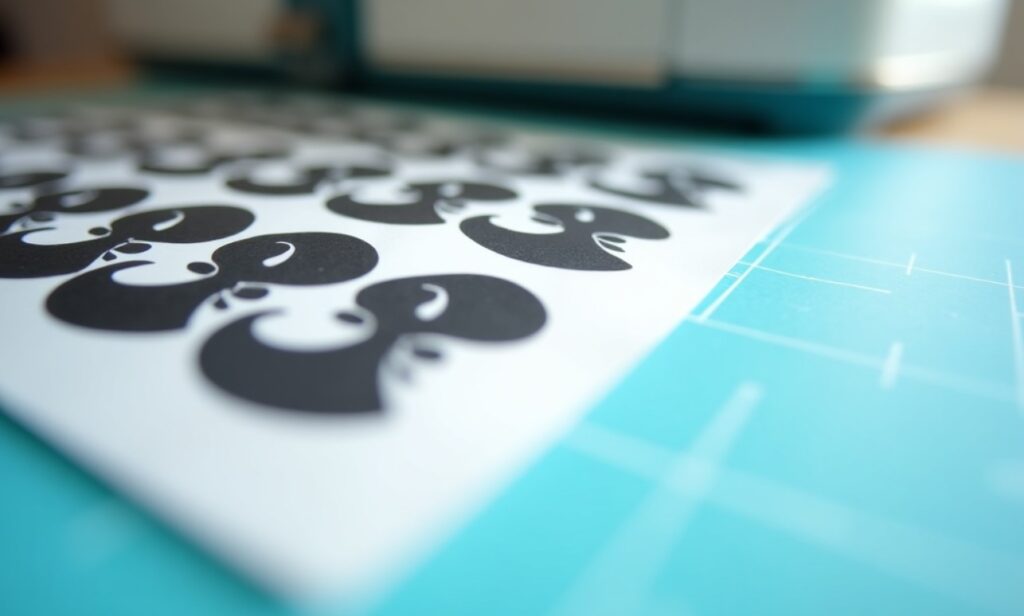
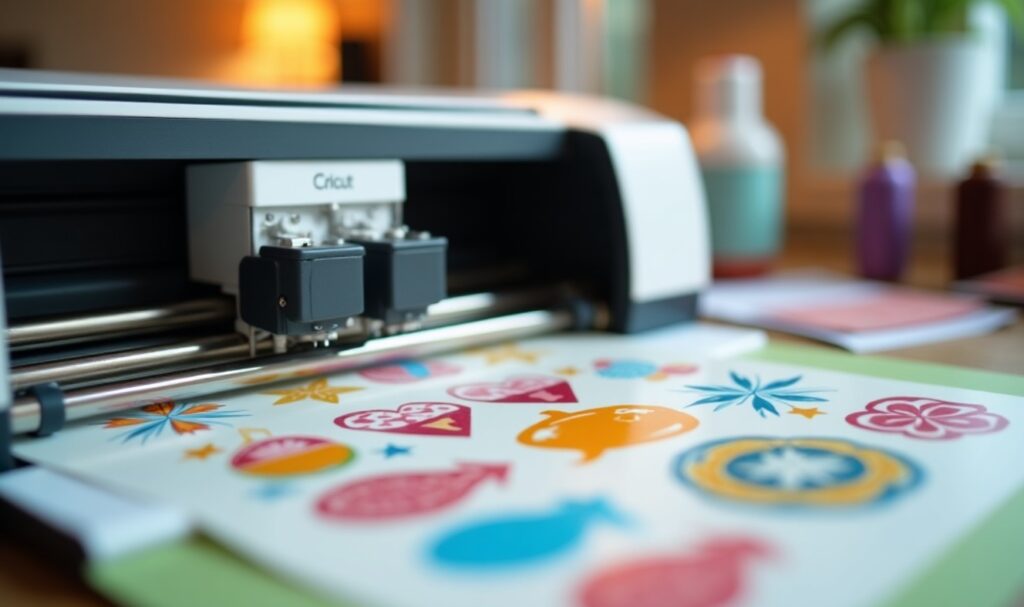
6. Cutting Your Stickers with Cricut
With your printed sheet ready, you’re now at the most exciting part — cutting your stickers!
Kiss Cut vs. Die Cut Explained
- Kiss Cut Stickers: Cricut cuts only the top layer of the sticker paper, leaving the backing intact. Great for sticker sheets or planners.
- Die Cut Stickers: Cricut cuts all the way through, creating individual stickers you can sell or gift.
How to Load and Cut Sticker Sheets
- Place your printed sticker sheet on a LightGrip (blue) cutting mat.
- Use a brayer tool to press it down evenly.
- In Design Space, select your material (Sticker Paper or Printable Vinyl).
- Use the recommended cut pressure — or test cut first if unsure.
- Load your mat into the machine and click Go.
Cricut’s sensor will read the black box around your design, ensuring accurate cuts.
Avoiding Overcuts and Paper Shifts
- If your mat isn’t sticky enough, your paper can move — clean or replace the mat.
- Don’t use excessive pressure; it may cut through the backing paper.
- Store your mats with the clear plastic sheet to keep dust away.
Once cutting is finished, carefully peel away the excess sticker paper. You’ll have clean, professional-looking stickers ready to use!
7. Sealing or Laminating Your Stickers
Want your stickers to last longer? Sealing or laminating them adds extra durability — especially useful for water bottles, laptops, or outdoor items.
Here are your options:
- Matte Laminate Sheets: Preserve colors with a smooth, glare-free finish.
- Glossy Laminate Sheets: Adds shine and protection.
- Spray Sealant (Clear Acrylic): A quick, budget-friendly option.
How to Apply Laminate Sheets:
- Cut a piece of laminate slightly larger than your printed sticker sheet.
- Peel back a corner of the laminate backing and stick it to the top of your sheet.
- Slowly smooth it down using a scraper or brayer to avoid bubbles.
- Once sealed, place it on your cutting mat and proceed to cut normally.
The laminate will not only waterproof your stickers but also prevent ink smearing over time.
8. Creative Ideas for Cricut Stickers
Once you’ve mastered the basics, the possibilities are endless! Stickers are one of the most fun and creative Cricut projects — perfect for personal use or small business products.
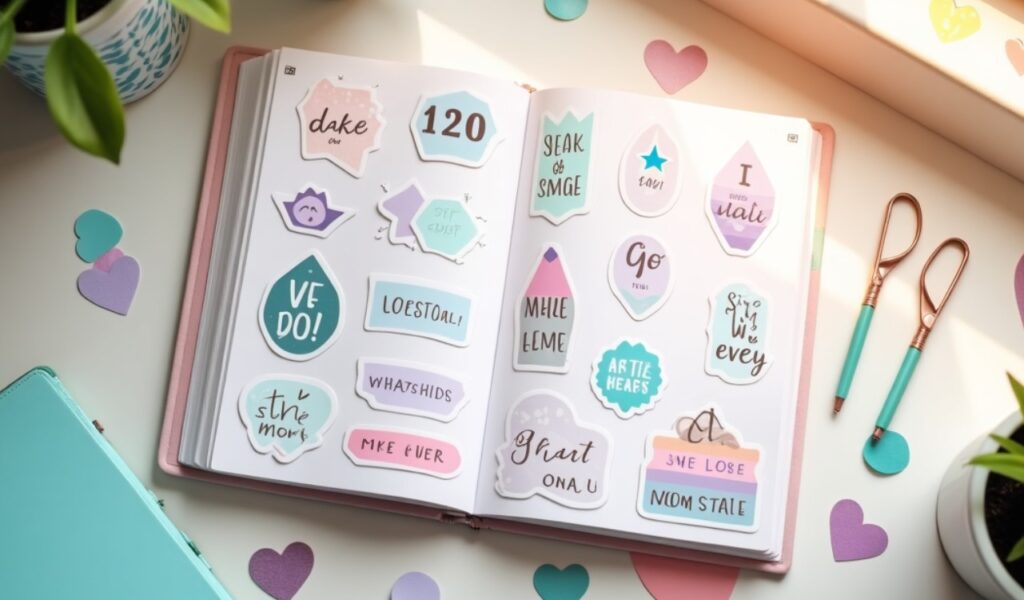
DIY Planner Stickers
Planner stickers are always popular. Create to-do lists, date covers, icons, and motivational quotes that match your aesthetic. You can even design seasonal themes like holidays, florals, or pastel sets.
Small Business Branding Stickers
If you sell handmade items, stickers are a great branding tool. Design “Thank You” labels, logo stickers, or packaging seals that reflect your brand colors.
Vinyl and Holographic Stickers
Experiment with holographic printable vinyl for shiny, iridescent effects. Metallic finishes and transparent backgrounds are trendy and look amazing on laptops and notebooks.
You can even make custom sticker sheets that mix planner icons, quotes, and decorative designs — perfect for gifting or selling.
9. Troubleshooting Common Cricut Sticker Problems
Even with careful setup, you might encounter a few bumps along the way. Here’s how to fix common Cricut sticker issues.
- Cuts Not Lining Up: Re-calibrate your Cricut under “Settings > Calibration.”
- Printer Not Matching Colors: Adjust your printer’s color profile or use ICC profiles if supported.
- Machine Not Detecting Registration Marks: Increase lighting or use matte sticker paper.
- Paper Tearing During Cuts: Try a lighter cut pressure or ensure the blade is clean and sharp.
- Edges Lifting on the Mat: Press paper firmly with a brayer and use a clean LightGrip mat.
Patience and small adjustments make a huge difference — once your setup is dialed in, your stickers will come out perfect every time.
10. How to Sell or Gift Your Stickers
Making stickers is addictive — and they’re great for gifts or side income!
Selling Cricut Stickers Online
You can sell your designs on Etsy, Shopify, or even through Instagram.
When listing stickers, include:
- Clear product photos on neutral backgrounds
- A description of materials (matte, glossy, waterproof)
- Size and quantity information
- Keywords like “planner stickers” or “vinyl laptop stickers”
Packaging Tips
Package stickers in cellophane bags or small envelopes with a thank-you card. For extra professionalism, include a small logo sticker or branded label.
Copyright Reminder
If you’re selling stickers, always use designs that you created yourself or have commercial rights to. Avoid using copyrighted characters or logos unless you have permission.
11. FAQ
Can I make stickers with any Cricut machine?
Yes! All Cricut machines can cut stickers, but Print Then Cut works best on Cricut Maker and Explore models.
What is the best sticker paper for Cricut?
Matte sticker paper is easy to write on, while printable vinyl gives a more professional finish and resists water.
How do I make waterproof Cricut stickers?
Use printable vinyl or apply a laminate sheet after printing.
Can Cricut Joy make stickers too?
Yes, though it doesn’t support Print Then Cut. You can still cut pre-printed designs or Smart Labels.
How do I fix Cricut Print Then Cut alignment?
Run calibration from Design Space settings, ensure even lighting, and avoid glossy paper when possible.
12. Conclusion
Making Cricut sticker projects is one of the most rewarding crafts you can try — creative, useful, and perfect for beginners. Once you understand the basic process of designing, printing, and cutting, your possibilities are endless.
You can decorate planners, personalize gifts, create custom labels, or even start a small sticker shop from home.
So open Cricut Design Space, load your favorite designs, and get started today. With a little practice, you’ll be making professional-quality Cricut stickers that look as good as anything you could buy — and a lot more personal!