How to Change the Blade on a Cricut: A Comprehensive Guide
Your Cricut machine is a steadfast partner in all your crafting endeavors. To keep it in its best working condition, it requires some routine maintenance. One such essential task you need to familiarize yourself with is how to change the blade on a Cricut. While this may sound daunting, it is a simple process that you can easily perform at home. This comprehensive guide will take you through the steps and ensure that your Cricut machine is always ready for the next project!
Why Do You Need to Change the Blade on a Cricut?
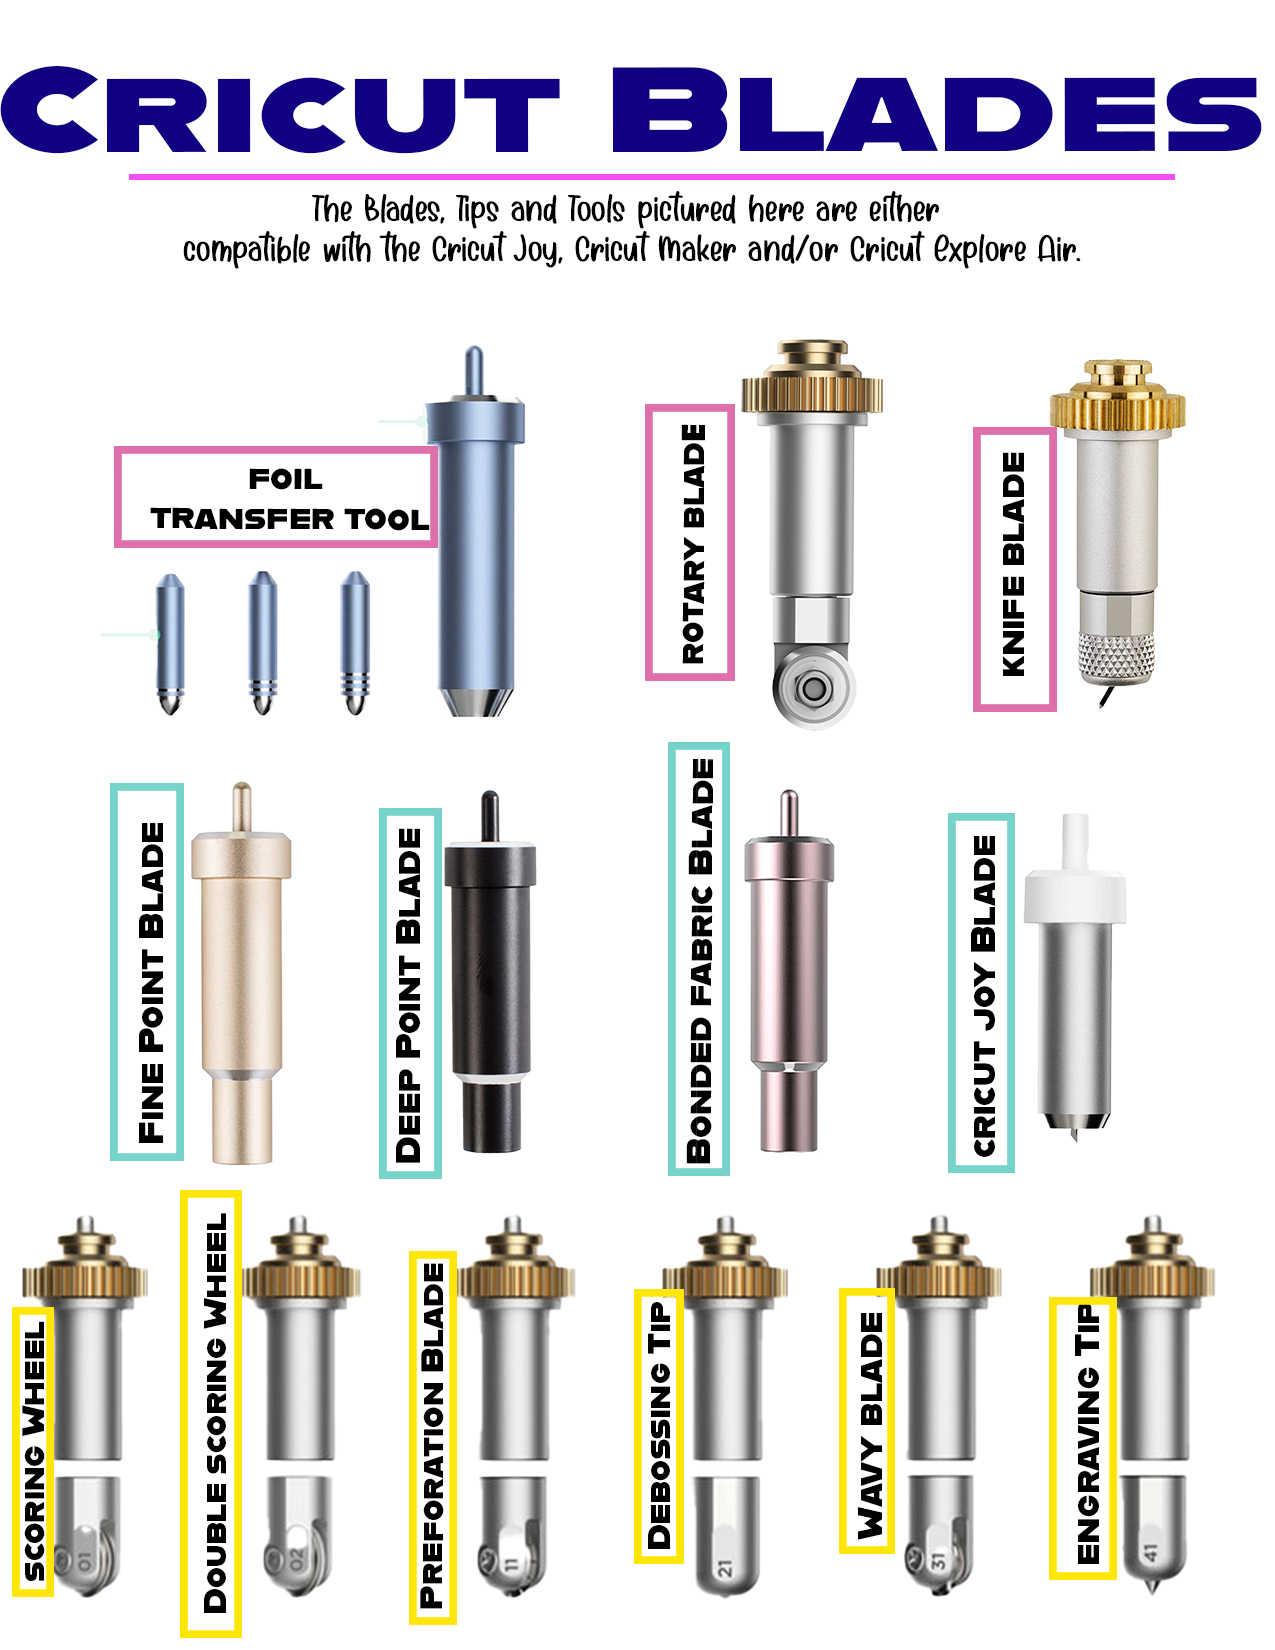
Your Cricut machine’s blade is responsible for the precise cuts that make your designs come to life. Over time and with regular use, the blade becomes dull, affecting the quality of the cuts. Changing the blade ensures that your machine can continue to deliver clean and precise cuts, keeping your creations looking their best.
When Should You Change the Blade?
Knowing when to change the blade on your Cricut machine is as important as knowing how to do it. If your machine begins to tear or drag the material, it could be a sign that your blade has dulled and needs replacing. Regularly inspecting your blade for any signs of wear or damage will help you determine when it’s time for a change.
How to Change the Blade on a Cricut: A Step-By-Step Guide
Here’s your step-by-step guide on how to change the blade on a Cricut machine:
Step 1: Gather the Necessary Tools
Before starting the process, ensure you have a new blade and the Cricut machine at hand. Be sure to handle the blades with care as they are very sharp.
Step 2: Open the Clamp
On your Cricut machine, locate the ‘B’ clamp. Open it by pushing on the small tab. The clamp will open, revealing the housing unit for the blade.
Step 3: Remove the Blade
Pull out the blade housing unit gently. There’s a small plunger at the top of the housing unit. Push it, and the blade will appear at the bottom. Remove the blade carefully, holding the housing unit and not the blade itself.
Step 4: Insert the New Blade
Take the new blade and insert it into the housing unit. Be sure to insert the blade point side down. Release the plunger, and the blade will retract into the housing.
Step 5: Return the Blade Housing to the Machine
Place the blade housing unit back into the ‘B’ clamp on the machine. Close the clamp by releasing the tab, making sure the housing unit is secure.
Final Thoughts
Knowing how to change the blade on a Cricut machine is an essential part of maintaining it. This simple process can greatly improve the quality of your cuts, ensuring that your creative projects always look their best. As always, remember to handle the blades with care, and happy crafting!
Note: This guide is primarily for Cricut machines with a clamp ‘B’. If your machine is a different model, please refer to the manufacturer’s instructions for guidance on changing the blade.

