Make a T Shirt With Cricut
Make a t shirt with T-shirt with Cricut; the possibilities are endless. Imagine being able to design a shirt that truly reflects your style and personality. The process begins with selecting the perfect font, playing around with different styles, and adding that unique touch to your creation. But that’s just the start. As you delve deeper into the world of Cricut T-shirt making, you’ll discover a range of innovative features that can take your designs to the next level. So, why not explore the art of crafting custom shirts with Cricut and unlock your creative potential in the realm of personalized fashion?
Setting Up Your Project with Cricut
To set up your project with Cricut, begin by launching the Cricut Design Space on your computer or mobile device. This software is essential for creating and customizing your designs before transferring them to your Cricut machine.
Once you have Design Space open, you can start a new project by selecting the option to create a new canvas. Here, you’ll have the freedom to unleash your creativity by adding shapes, images, and text to design your unique t-shirt graphic.
After you’ve finalized your design, make sure your Cricut machine is connected to your device. This connection allows you to seamlessly send your design from the software to the Cricut for cutting. Ensure that your machine is turned on and recognized by the Design Space before proceeding.
Setting up your project efficiently will streamline the process, making it easier for you to bring your t-shirt design to life with your Cricut machine.
Adding Text to Your T Shirt Design
When you’re ready to personalize your t-shirt design, incorporate text by selecting engaging fonts in the Cricut Design Space. Start by opening a new project and adding text to the canvas. Choose the text tool and type your desired words. You can adjust the font size, alignment, and spacing to fit your design. Explore the variety of fonts available in the Cricut Design Space library to find the perfect style for your shirt. Experiment with different fonts to see how they complement your overall design aesthetic.
To enhance your text further, consider utilizing features like curving text in the Cricut Design Space. This allows you to create dynamic layouts and add a unique touch to your design. Once you’re satisfied with the text placement and style, finalize your design and send it to your Cricut machine for cutting. Remember to weed out any excess material after cutting to ensure clean lines when applying the iron-on to your t-shirt.
Lets read on and find out how to make a T Shirt with Cricut.
Customizing Font Styles
For a personalized touch to your t-shirt design, experiment with various font styles available in the Cricut Design Space library. Choosing the right font can significantly impact the overall look and feel of your design.
To customize font styles, click on the text box in the design canvas, then select the text you want to modify. Next, navigate to the Font dropdown menu and explore the wide range of font options offered by Cricut. From elegant scripts to bold sans-serifs, there’s a font style to suit every design aesthetic.
Play around with different fonts to see which one complements your message or graphic best. You can also adjust the size, spacing, and alignment of the text to achieve the desired look. Remember to keep readability in mind, especially if you plan on using intricate or decorative fonts.
Exploring Font Options with Cricut
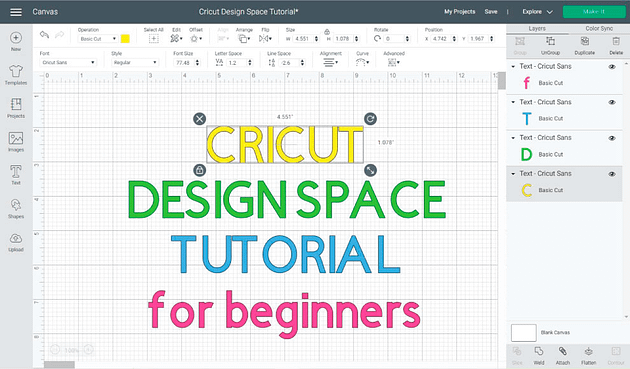
Explore a variety of font options available in the Cricut Design Space library to enhance the visual appeal of your t-shirt designs. When creating your design, consider the mood and message you want to convey.
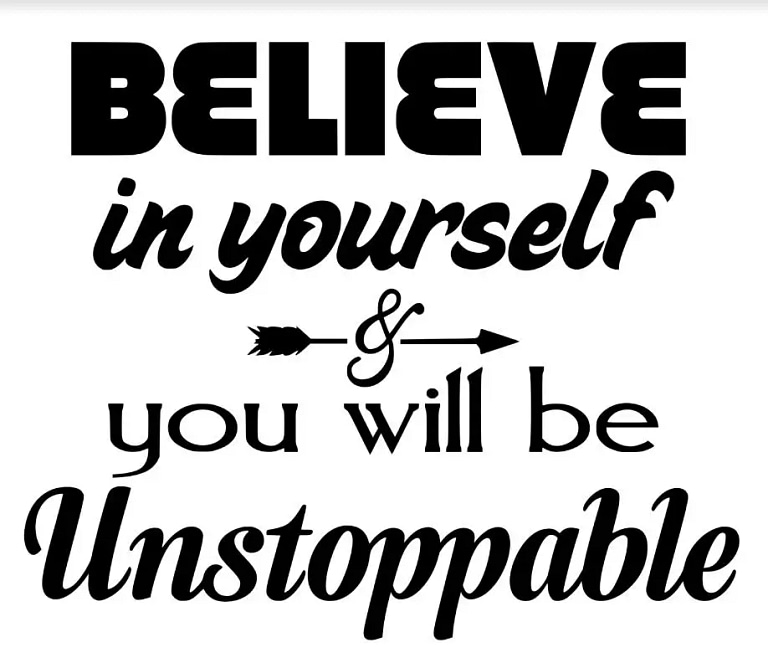
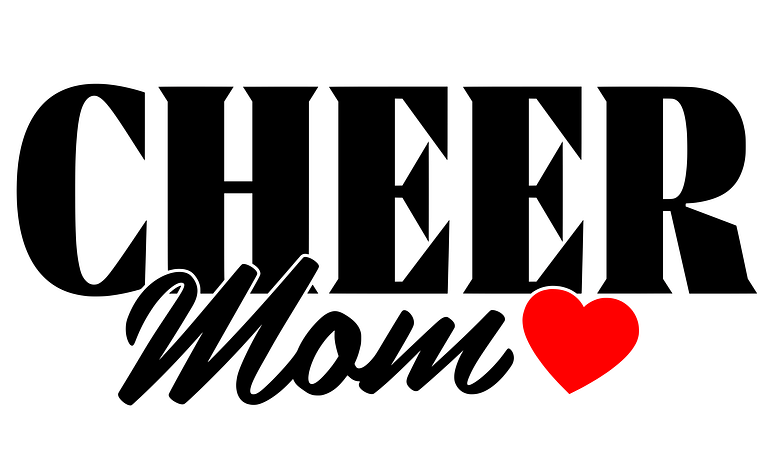
Play around with different fonts to find one that complements your overall aesthetic. Cricut Design Space offers a wide range of fonts, from elegant scripts to bold sans-serifs, allowing you to personalize your t-shirt with the perfect typography.
Experiment with different sizes, styles, and arrangements to see what works best for your design. Remember, the font you choose can significantly impact the overall look of your t-shirt, so take your time to explore all the options available.
Whether you prefer a classic look or something more modern and trendy, Cricut’s font library has something for everyone. So, unleash your creativity and make your t-shirt designs stand out with the perfect font choice.
Utilizing Text Curving Feature with Design Space
To enhance the visual appeal of your t-shirt designs using Cricut Design Space, consider utilizing the text curving feature for a dynamic and professional look. This feature allows you to curve your text along a path, giving your design a unique and eye-catching twist. To curve text in Design Space, simply select your text box, click on the curve button located at the top panel, and adjust the curvature by dragging the slider or typing in a specific value. Experiment with different curve styles to find the one that best complements your design.
Curving text can add a touch of elegance or playfulness to your t-shirt designs, depending on the style you’re aiming for. Whether you want to create a curved arch of text or have it follow a circular path, the text curving feature in Design Space offers versatility to bring your creative vision to life. Play around with different curve options to see how they enhance the overall look of your design before finalizing it for cutting and pressing onto your shirt with your Cricut machine.
Applying the Design to a Cricut Shirt
Start by finalizing your design in Cricut Design Space before moving on to applying it to your t-shirt using the Cricut machine and heat press. Once you have your design ready, it’s time to bring it to life on your shirt. Begin by loading the Smart Iron-On material into your Cricut Explore 3 machine. Make sure to mirror your design before cutting to ensure it appears correctly on the shirt.
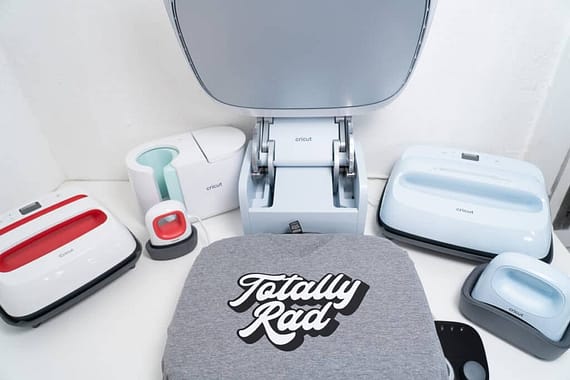
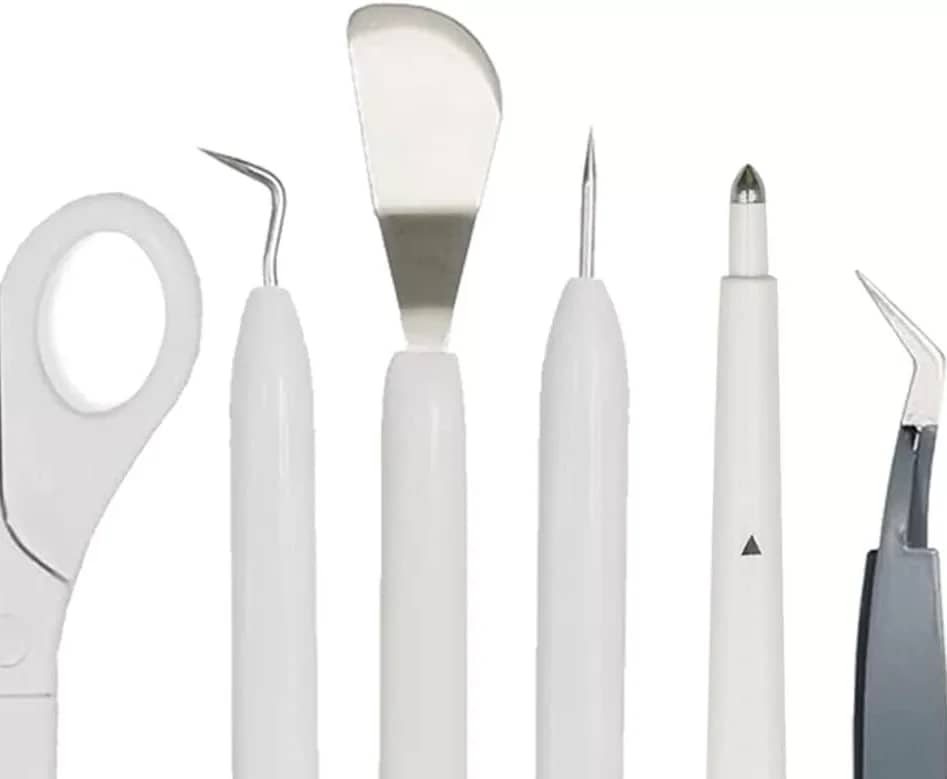
After the Cricut machine has precisely cut out your design, use a weeding tool to remove the excess material carefully. This step is crucial for achieving a clean and professional-looking finish. Next, preheat your Cricut EasyPress 2 to the recommended temperature and time settings according to the Cricut Heat Guide.
Place your t-shirt on a flat surface, position the cut-out design where you want it, and carefully press the EasyPress onto the design. Apply even pressure and ensure the heat press covers the entire design area. Once the heat press process is complete, peel off the transfer sheet gently to reveal your customized t-shirt. You now have a unique garment created using your Cricut machine and heat press.
Finalizing Your Cricut T-Shirt Design
After applying your design to your Cricut shirt with precision and care, the next step is finalizing your t-shirt design to achieve a polished and professional look.
Once your design has been cut and weeded, it’s time to prepare it for application onto your shirt. Trim any excess material around your design to ensure clean edges. Place your t-shirt on a flat surface and use an EasyPress 2 to preheat the fabric. Position your design on the shirt, making sure it’s centered and aligned correctly. Follow the recommended temperature and pressing time from the Cricut Heat Guide to ensure a secure transfer. Apply even pressure with the EasyPress 2, moving it across the design in a consistent manner.
Allow the shirt to cool before peeling off the transfer tape. This final step will reveal your completed Cricut t-shirt design, ready to be worn and showcased with pride.
Finally Make a T Shirt With Cricut
You’ve successfully designed a custom T-shirt using Cricut! With Design Space, you set up your project, added engaging text, customized font styles, explored various options, and utilized the text curving feature for a dynamic look.
Apply your design to a Cricut shirt and finalize your creation. Get ready to rock your unique and personalized T-shirt with pride!
