Free Image Converter to SVG (Perfect for Cricut)
Want to turn a photo, logo, or clipart into a crisp cut file? This friendly guide shows you the easiest ways to convert PNG or JPG into SVG—the vector format that Cricut Design Space loves. We’ll cover what SVGs are, when conversion makes sense (and when it doesn’t), how to do it with a free online converter, and how to get extra-clean results using Inkscape (free desktop software). You’ll also learn the quickest way to create a cut path inside Cricut Design Space, plus pro tips for cleaner SVGs and faster cutting.
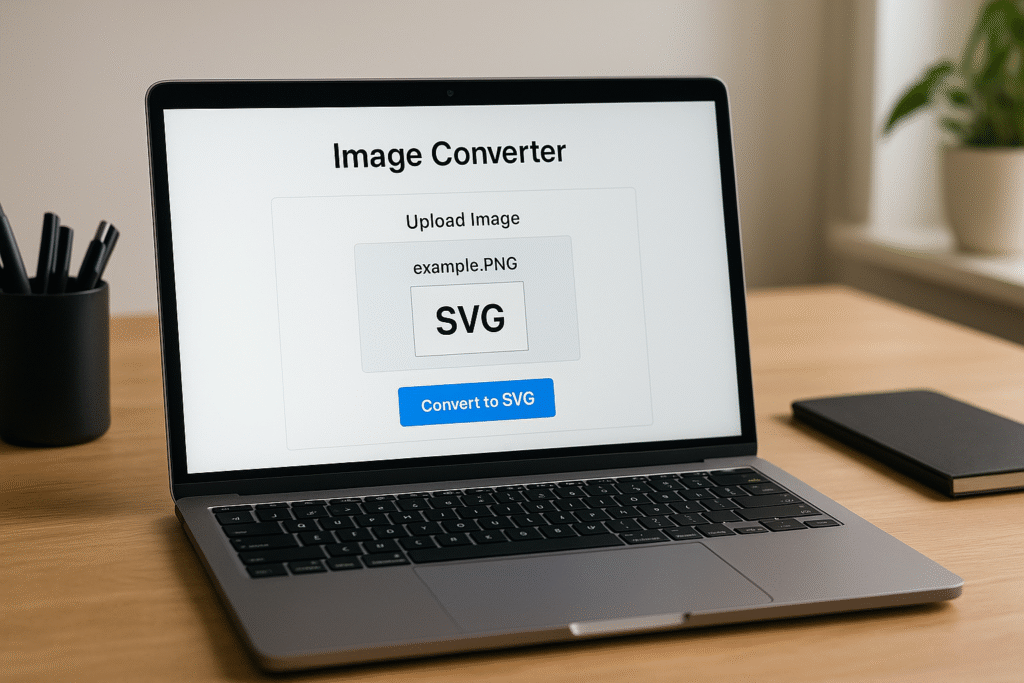
Table of Contents
- What Is an SVG (and Why Cricut Loves It)?
- When Should You Convert an Image to SVG?
- Method 1: Free Online Image-to-SVG Converter
- Method 2 (Best Quality): Convert with Free Inkscape
- Method 3: Quick “Trace” Inside Cricut Design Space
- Tips for Cleaner SVGs (Fewer Nodes, Faster Cuts)
- FAQ
What Is an SVG (and Why Cricut Loves It)?
SVG stands for Scalable Vector Graphics. Unlike PNG/JPG (made of pixels), SVGs are made of math-based paths. That means your design stays sharp at any size and cuts smoothly because your Cricut follows those vector paths exactly.
- Crisp at any size: No blurriness when you scale.
- Cleaner cuts: Fewer “jagged” edges and easier weeding.
- Layer control: Separate colors and layers for multi-color vinyl or paper projects.
Want to skip converting and just grab ready-made cut files?
Browse our free SVG library on Crafty Crafter (commercial use free): https://crafty-crafter.club
When Should You Convert an Image to SVG?
SVG conversion works best for:
- Logos, icons, and clipart with solid color areas and clean edges.
- Silhouettes or line art with good contrast.
- Typography (short words/phrases) when you don’t have the font.
It’s not ideal for full-color photographs (e.g., pets or people) unless you want a stylized, posterized look. For photos, consider tracing only the outline or simplifying first.
Method 1: Free Online Image-to-SVG Converter
This is the fastest way to turn a PNG/JPG into an SVG—no install required. Search for a reputable, free converter. Steps are similar everywhere:
[Image: Web page showing an online SVG converter with an image upload field]
Caption: Upload your image, tweak a few settings, download the SVG.
- Prepare your image. High-contrast art on a clean background works best. Remove the background first if possible.
- Upload your PNG/JPG to the converter.
- Choose a mode.
- Black & White / Monochrome for simple silhouettes.
- Color trace for multi-color clipart (keep colors low—e.g., 2–6).
- Adjust threshold/smoothing. Increase threshold to capture more detail; add smoothing to round rough edges.
- Preview and download the SVG. Zoom to 200–300% to check edges before uploading to Design Space.
Upload to Cricut Design Space: Open Design Space → Upload → Upload Image → pick your new .svg → Add to Canvas. Done!
Note on copyright: only convert artwork you own or can legally use.
Method 2 (Best Quality): Convert with Free Inkscape
Inkscape is a powerful, free vector editor for Windows/Mac/Linux. Its Trace Bitmap feature gives you more control and cleaner paths than most online tools.
Download: https://inkscape.org/
- Install Inkscape and open it. Go to File → Import and select your PNG/JPG.
- With the image selected, go to Path → Trace Bitmap…
- For silhouettes/line art: Choose Single scan (Brightness cutoff). Start with threshold ~0.45–0.65 and preview.
- For multi-color clipart: Choose Multiple scans (Colors) with 2–6 scans. Enable “Remove background” if offered.
- Clean up noise: Use smoothing/suppress speckles to reduce tiny artifacts and extra nodes.
- Click Apply. A new vector object appears on top of the original. Move or delete the original raster image.
- Refine: Use Path → Simplify (sparingly) to reduce nodes. Ungroup (Object → Ungroup) to separate color layers.
- Save as SVG: File → Save As → Plain SVG for the leanest file.
In Cricut Design Space: Upload the saved .svg and scale/layer as needed. Multi-color designs can be color-synced or cut by color.
Method 3: Quick “Trace” Inside Cricut Design Space
If you don’t need a separate SVG file and just want a fast cut path, you can “trace” inside Design Space.
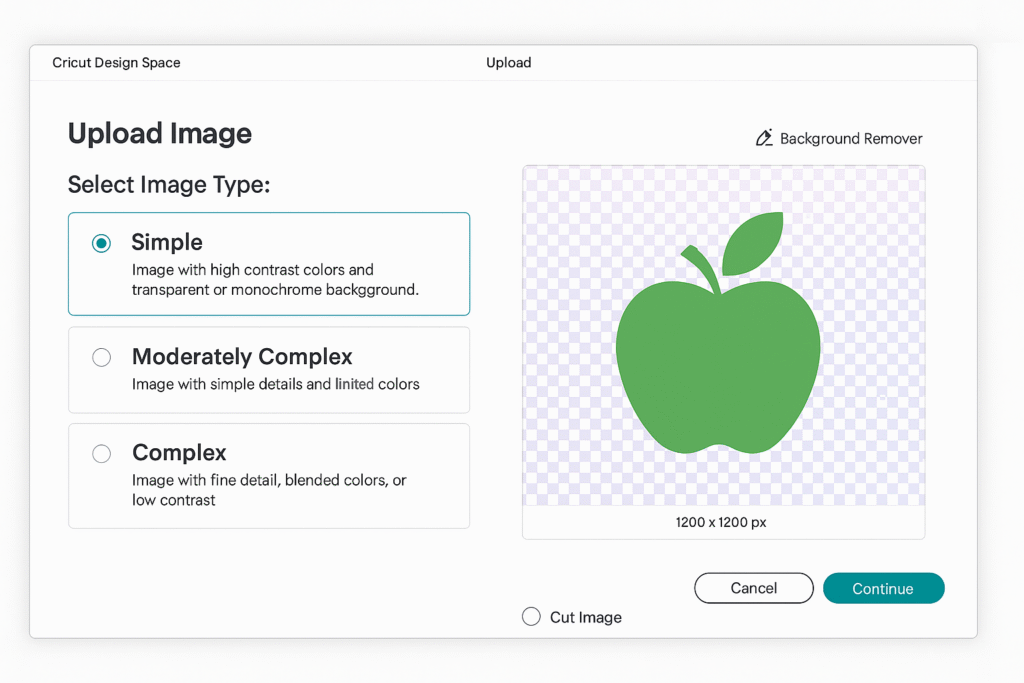
[Image: Cricut Design Space Upload dialog with a PNG loaded]
Caption: Upload a PNG/JPG into Design Space and use the background remover to create a cut path.
- Open Design Space → Upload → Upload Image.
- Choose your PNG/JPG. Pick Simple (best for clean art) or Moderately Complex.
- Use the Background Remover and eraser to isolate the subject.
- Select Cut Image and click Save.
- Add it to the canvas. (Note: Design Space won’t export this as SVG, but it’s perfect for immediate cutting.)
Need ready-to-cut files to test your settings? Try a few from our free SVG collection: https://crafty-crafter.club
Tips for Cleaner SVGs (Fewer Nodes, Faster Cuts)
- Start with clear artwork. High-contrast images convert better.
- Limit colors. For multi-color traces, fewer colors = fewer layers and faster weeding.
- Simplify wisely. Too many nodes slow cutting and can create choppy edges. Use simplify/smoothing moderately.
- Check at high zoom. Inspect edges at 200–300% before uploading to Design Space.
- Separate by color. Make each color its own layer for easy vinyl/paper assembly.
- Mind licensing. Only convert images you’re allowed to use.
FAQ
What’s the best free image converter to SVG?
For quick conversions, a reputable online converter is great. For the cleanest paths and the most control over threshold, smoothing, and colors, Inkscape is hard to beat—and it’s free.
Can I convert a photo of my pet to SVG?
Yes, but expect a stylized result. Photos have gradients and fine detail. For best results, convert to black/white first, trace the outline, or try a posterized look.
My SVG looks jagged in Design Space. Why?
Likely too many nodes or a low-quality trace. Re-trace with higher smoothing, limit the number of colors, and run a light simplify. Zoom in before upload and fix any spikes.
Is converting an image to SVG the same as removing the background?
Background removal prepares the artwork; SVG conversion creates vector paths your Cricut can follow. Use both for best results.
Ready to Craft?
Convert your image using one of the methods above and try a test cut. Or grab a file from our Free SVG library and get cutting in minutes: https://crafty-crafter.club
Download this file then check it's Cricut-ready with SVG Doctor before you cut — it scans for stray nodes, layer issues, and anything that might cause problems in Design Space.
Check My SVG Free →