How to Make Stickers with Cricut: A Comprehensive Guide
Want to learn how to make stickers with Cricut? Stickers have evolved from mere decorations to powerful tools for personal expression, branding, and even business ventures. With the advent of technology, creating your own stickers has become more accessible and enjoyable than ever before. In this comprehensive guide, we’ll walk you through the process of making stickers using one of the most popular tools available: the Cricut machine.

Introduction to Sticker Making with Cricut
What is Cricut? Cricut is a cutting machine that enables users to precisely cut various materials, including paper, vinyl, and fabric, based on digital designs. It’s like having a personal crafting assistant that brings your creative visions to life with remarkable accuracy.
Benefits of Making Your Own Stickers
There are numerous advantages to making your own stickers with Cricut. Firstly, it allows for complete customization, ensuring that your stickers reflect your unique style and personality. Additionally, crafting stickers with Cricut is cost-effective, especially when compared to purchasing pre-made stickers. Moreover, it opens up opportunities for entrepreneurship, as you can create and sell your designs to others.
Getting Started: Essential Supplies and Setup
List of Supplies Needed to Make Stickers with Cricut
Before diving into sticker making, gather the following essentials:
- Cricut machine
- Computer or mobile device
- Design software (e.g., Cricut Design Space)
- Sticker paper or vinyl
- Cutting mat
- Weeding tools
- Protective layer (optional)
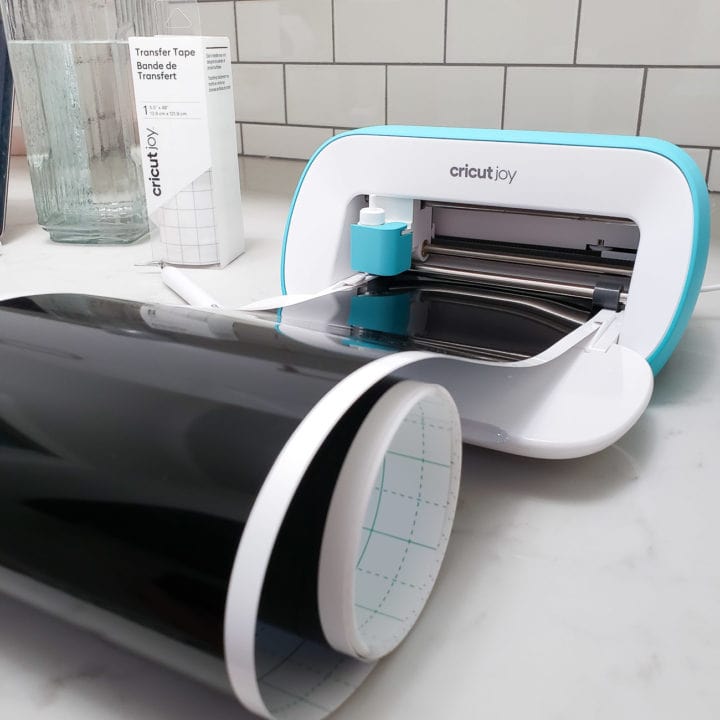
Setting Up Your Cricut Machine
Ensure your Cricut machine is properly set up and connected to your computer or mobile device. Install any necessary software and familiarize yourself with the basic functions of the machine to streamline your sticker-making process.
Designing Your Stickers
Choosing the Right Software to Make Stickers with Cricut
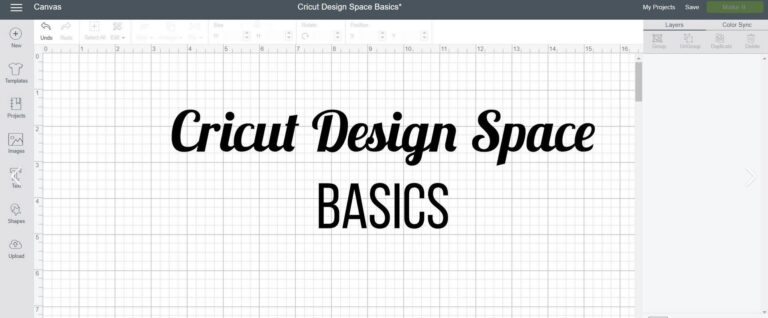
Cricut Design Space is a user-friendly software designed specifically for Cricut machines. It offers a wide range of features to create and customize your sticker designs effortlessly. Alternatively, you can use other design software and import your creations into Cricut Design Space for cutting.
Design Tips for Beginners Keep your designs simple and clear, especially if you’re new to sticker making. Experiment with different fonts, graphics, and colors to achieve the desired look. Remember to consider the size and shape of your stickers to ensure they’re suitable for their intended purpose.
Preparing Your Design for Cutting
Converting Designs into Cuttable Files Before cutting, convert your designs into compatible file formats (e.g., SVG, PNG) that Cricut Design Space can recognize. This process may vary depending on the software you’re using, so refer to the respective guidelines for exporting files.
Adjusting Your Design for Different Sticker Sizes If you plan to create stickers of varying sizes, adjust your design accordingly to maintain clarity and readability. Test your designs on smaller scales to ensure they remain visually appealing and recognizable.
Selecting the Right Material
Types of Sticker Paper There are various types of sticker paper available, ranging from glossy to matte finishes. Consider the durability and intended use of your stickers when selecting the appropriate material. Glossy finishes offer a shiny, vibrant appearance, while matte finishes provide a more subtle, refined look.
Choosing Between Matte and Glossy Finishes Matte finishes are ideal for indoor applications and offer a smooth, non-reflective surface. On the other hand, glossy finishes are more resilient and suitable for outdoor use, thanks to their water-resistant properties. Ultimately, the choice between matte and glossy finishes depends on your personal preference and the intended use of your stickers.
Cutting Your Stickers with Cricut
Setting Up the Cut File Import your design into Cricut Design Space and adjust the settings according to your chosen material and blade type. Ensure that your design is positioned correctly on the cutting mat to avoid unnecessary waste.
Adjusting Blade Settings for Different Materials Different materials require varying blade settings for optimal cutting results. Refer to the manufacturer’s recommendations or conduct test cuts to determine the ideal blade depth and pressure for your chosen material.
Weeding and Finishing Your Stickers with Cricut
Weeding Techniques After cutting, carefully remove the excess material (referred to as “weeding”) using specialized tools such as tweezers or weeding hooks. Take your time to avoid damaging the delicate parts of your design.
Applying a Protective Layer For added durability and longevity, consider applying a protective layer, such as laminate or clear adhesive film, to your stickers. This extra step helps shield your stickers from scratches, fading, and moisture damage, ensuring they remain pristine over time.
Creative Ideas for Sticker Designs
Personalized Stickers Create stickers featuring your name, favorite quotes, or illustrations that reflect your hobbies and interests. Personalized stickers make great gifts and can add a unique touch to everyday items such as water bottles, laptops, and notebooks.
Seasonal and Thematic Stickers Celebrate holidays, seasons, or special occasions with themed sticker designs. Whether it’s Halloween pumpkins, Christmas ornaments, or spring flowers, there’s no shortage of inspiration for seasonal stickers to adorn your crafts and decorations.
Tips for Selling Your Stickers
Pricing Your Stickers Determine a fair and competitive price for your stickers based on factors such as material costs, production time, and market demand. Consider offering discounts for bulk orders or creating bundles to attract more customers.
Marketing Strategies for Sticker Businesses Promote your sticker designs through various channels, including social media platforms, online marketplaces, and local craft fairs. Showcase your creativity, engage with your audience, and leverage influencer collaborations to expand your reach and grow your sticker business.
Troubleshooting Common Issues
Dealing with Cutting Errors If you encounter cutting errors such as jagged edges or incomplete cuts, double-check your blade settings, cutting mat alignment, and material condition. Perform test cuts to troubleshoot and refine your settings until you achieve consistently clean cuts.
Solving Adhesive Problems If your stickers fail to adhere properly, ensure that the surface is clean, dry, and free of any debris or oils. Additionally, consider using stronger adhesive materials or applying pressure to the stickers after application to enhance adhesion.
Advanced Techniques for Sticker Making
Layering and Texturing Techniques Experiment with layering multiple materials and textures to create dimensional and visually captivating sticker designs. Combine different colors, patterns, and finishes to add depth and interest to your creations.
Using Specialty Materials Explore the versatility of Cricut machines by experimenting with specialty materials such as metallic foils, holographic vinyl, and printable fabric. These unique materials open up endless possibilities for creating eye-catching and luxurious stickers that stand out from the crowd.
Make Stickers with Cricut FAQ
Addressing Common Questions
- Can I use copyrighted images for my stickers?
- How do I remove stickers without damaging surfaces?
- Can I make stickers with Cricut without a computer?
Conclusion: Make Stickers with Cricut
With Cricut, the possibilities for sticker making are truly limitless. Whether you’re crafting stickers for personal use, gifting, or starting a business, the process is both rewarding and enjoyable. By following the steps outlined in this guide and experimenting with different techniques and materials, you’ll unlock your creative potential and unleash a world of sticker-making possibilities. So, gather your supplies, fire up your Cricut machine, and let your imagination run wild as you embark on your sticker-making journey.
Hopefully you are now ready to Make Stickers with Cricut.