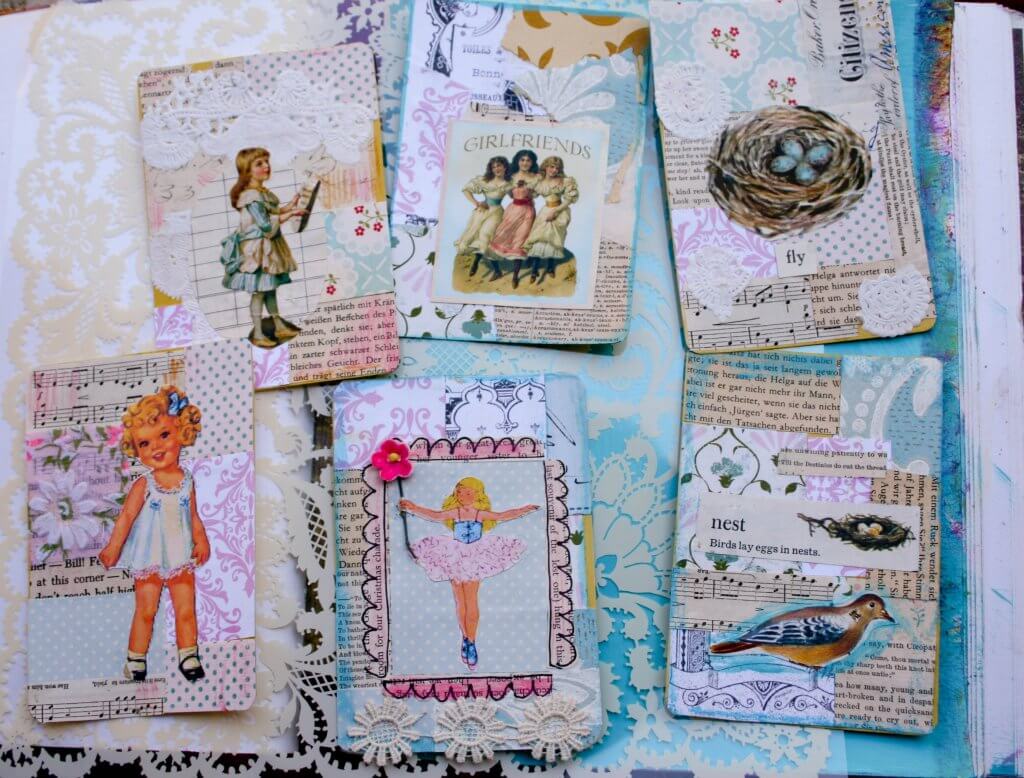
Design Multiple Greeting Cards: Themes, Colours, Images, Supplies and Sample Collage Designs
Designing cards is easier when the process is simplified with a few key guidelines built around the premise that narrowing your focus will increase your results. Use this simple set of choices to guide you in making a great batch of cards.
Theme: Select a theme that can be accommodated with the same colors and images. Many card makers find ease in selecting something as simple as the season such as spring, winter, fall, and summer. A specific holiday can easily work as a theme too. Birthdays are not a great theme because the recipients vary so widely, however, narrowing to female birthdays for adults or other grouping works fine
Colors: Select two colors and a neutral compliment for your batch of cards based on your theme. Use your theme as a guide in color selection and keep in mind that you can use several shades of the same color and prints to compliment your designs.
Images: Select one or two focal images that will repeat on your cards in various ways. Flowers are an easy favorite for spring, snowflakes for winter, or select a rubber stamp collage image or clip art as your inspiration.
By narrowing your focus to these three key areas you are making the process easier. Your designs will automatically coordinate and your scraps become gold mines for the next card.
Gather Supplies
Once you have make the three key decisions then pull your supplies. Again, your focus should remain narrow; you don’t need everything in the house to make 6-8 simple cards.
Supply check list will include:
- Cardstock for card bases
- Cardstock for accents and matting
- Print papers (if you use 12” by 12” prints, just one sheet will be fine)
- Adhesive and cutting tools
- Images—rubber stamps, punches, stickers, die cuts , etc (don’t go overboard, usually one or two is fine)
- Embellishments-a set of brads or eyelets, some fiber or ribbon
- Words-have a fun pen to write your own and doodle as well as word stamps or computer printed words or clip art
- Layout guide-a card making magazine or book, internet photos, cards you’ve received, or templates (don’t overwhelm your senses, just remember you don’t have to reinvent the wheel—your cards will rarely look anything like the inspiration layout guide, you are merely using the proportions as a guide for your designs)
Create a Batch of Cards
After making your easy choices and selecting the supplies, the assembly process begins. Create a few focal images by making stamped images, die cutting or punching your card stock and trimming clip art or stickers to a single image. A great way to jump start your card making is to cut some squares and strips from paper and play around with them and your focal images on a card front. Another easy start is to select a layout from your guide and fit your papers and images into that layout.
Relax and enjoy the process as you watch one card after another come to fruition. If you find yourself stuck and taking too long, set that aside and go on to another combination of paper and images.
